
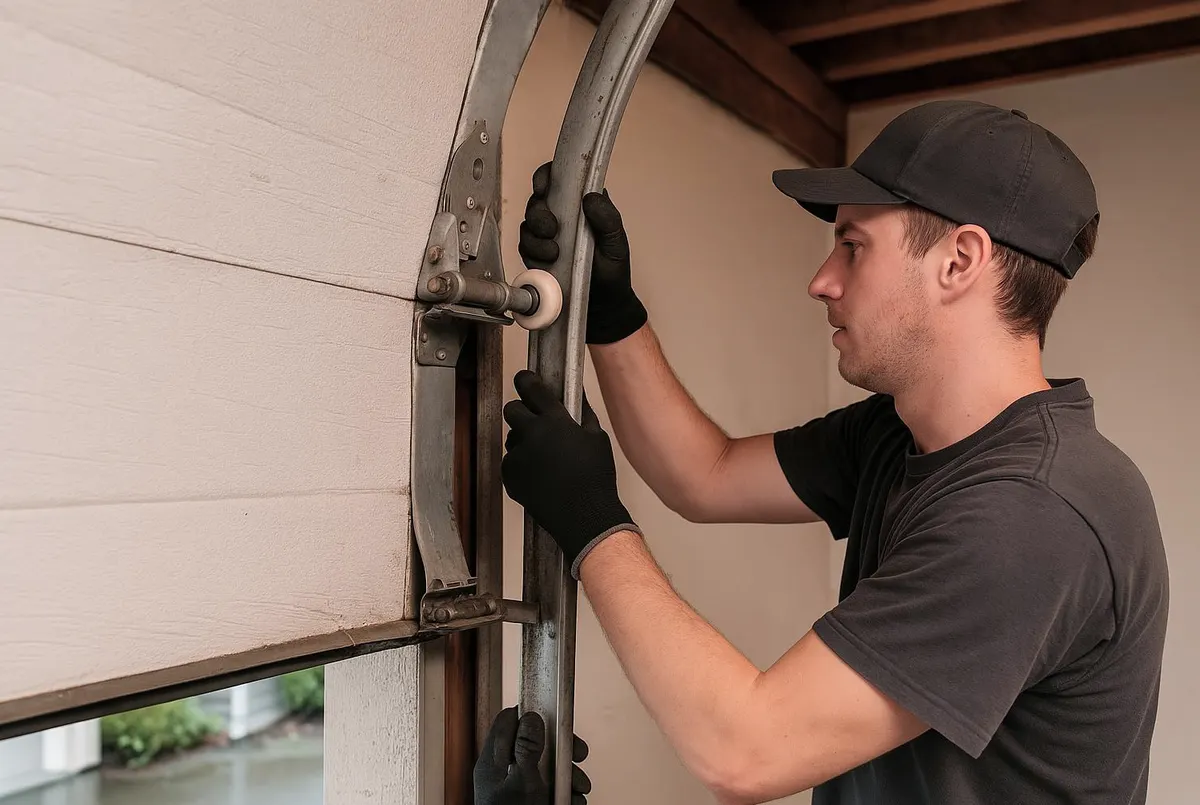
What a technician sees on a typical call like this
When we get called out for drafts, water on the garage floor, or "something's been getting in here," the bottom seal is usually the culprit. In this part of the high country, the pattern is pretty consistent: pine needles and grit packed into the seal's track so it can't lie flat, a seal that's gone flat and brittle from UV exposure and repeated freeze-thaw cycles, or a gap at one corner where water pools after heavy rain and starts wicking into the slab or the bottom of a wood door. We also see mouse and chipmunk entry points right where the seal has pulled away from the track, especially on doors facing downhill or shaded by trees where moisture lingers longer.
The good news: bottom seals and side/top weatherstripping are some of the cheapest, most effective fixes in garage door maintenance. Before the first hard freeze or ice storm rolls through, it's worth doing this check.
Tools you'll need
- Tape measure
- Utility knife
- Work gloves
- Replacement bottom seal (bulb-type, bead-type, or T-style, matched to your existing track)
- Replacement vinyl or brush-style weatherstripping for the sides and top, if needed
- Flathead screwdriver or pry tool
- Rag and mild soapy water
- Silicone-based lubricant (not petroleum-based, which attracts grit and breaks down rubber faster)
Step-by-step: replacing the bottom seal
- Inspect the current seal. Close the door and look along the bottom from inside the garage. Daylight showing through, a seal that's flattened on one side, cracking, or sections pulling out of the track are all signs it's done.
- Measure your door's width so you buy a seal of the correct length, and check the track shape on the bottom of the door (it will be a T-slot, bulb-style channel, or a flat edge) since replacement seals aren't universal.
- Open the door and clean the track. Pine needles, pollen buildup, and dried mud collect in here more than people expect, and a clogged track is one of the main reasons a brand-new seal still won't sit flush.
- Pull the old seal out of the track, working from one end to the other. It usually slides out by hand once you get it started with a flathead screwdriver.
- Cut the new seal to length, leaving a small amount of extra material at each end rather than cutting it exact.
- Feed the new seal into the track, starting at one corner and working across. Some styles need to be fed through at an angle; check the packaging for your specific seal type.
- Close the door and check the fit. It should press evenly against the floor along the entire width with no visible gaps and no daylight. If one corner is still open, the slab may be uneven, which is worth noting for later.
- Lubricate the seal lightly with a silicone-based product, especially before winter, since this keeps it flexible in cold temperatures instead of stiffening and cracking.
Side and top weatherstripping
If drafts or light are coming in along the sides or top of the door, not just the bottom, the J-channel weatherstripping around the frame has likely hardened or pulled loose. This is replaced the same general way: pull the old strip from the channel, clean out debris, and press the new strip in, trimming to length. It's a bit more fiddly around corners, but still a homeowner-level job with basic tools.
What's DIY and what needs a technician
Replacing a bottom seal or side weatherstripping is squarely a homeowner task if the door itself is operating normally. Where it crosses into technician territory:
- The track on the bottom of the door is bent or damaged rather than just worn, which usually means a new bottom panel or professional repair.
- The door doesn't close flush even with a new seal installed, which often points to a misaligned door, worn rollers, or a panel that's warped from years of moisture exposure.
- The seal resistance affects how the opener closes the door, causing it to reverse or struggle. This usually means the opener's force settings need adjustment by someone familiar with the safety mechanisms.
- Water is still getting in after a new seal is installed, which can mean a settling slab, a threshold issue, or drainage problems around the garage pad that go beyond the seal itself.
When to call Banner Elk Garage Door
If you've replaced the seal and still have gaps, drafts, or water intrusion, or if you notice the door isn't closing evenly across the floor, that's a sign the issue is bigger than the weatherstripping. Our Garage Door Maintenance visits include checking door alignment, track condition, and seal fit as a package, so you're not guessing at what's actually causing the problem. If the bottom panel itself is damaged or rotted from long-term moisture exposure, our Garage Door Repair service covers panel and seal replacement together so the fix actually holds.
If you're in Banner Elk, Boone, Blowing Rock, Sugar Mountain, Beech Mountain, Newland, Linville, or Valle Crucis and want your garage door sealed up tight before the next cold snap or ice storm, give Banner Elk Garage Door a call. We'll get it done right and get you back to a dry, draft-free garage.